2人でテニスゲーム
コンテンツ
今回やること
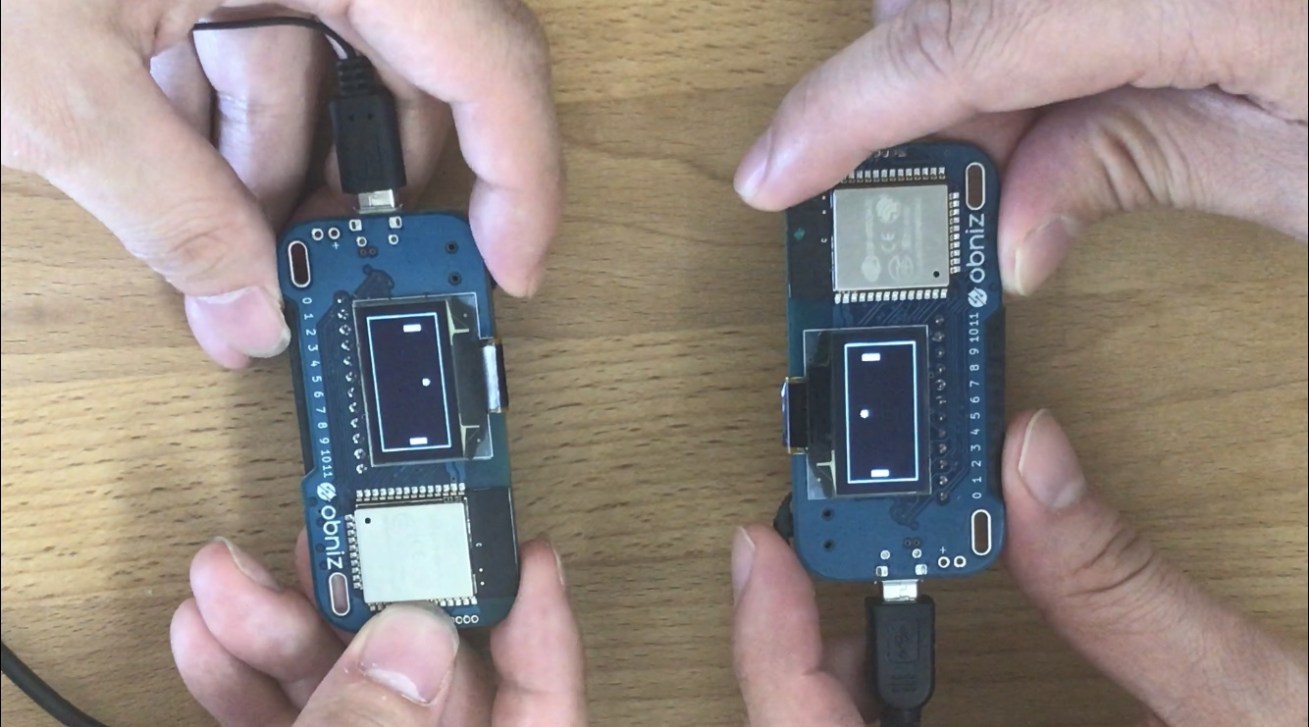
obniz2台を使って、2人でテニスゲームをします。 obnizにはスイッチとディスプレイがあるので、簡単なゲームも作れちゃいます!
用意するもの
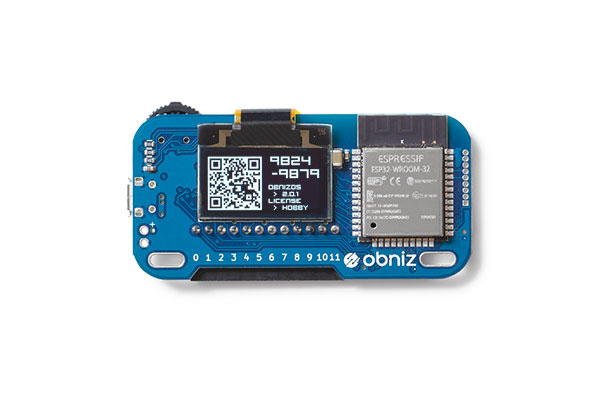
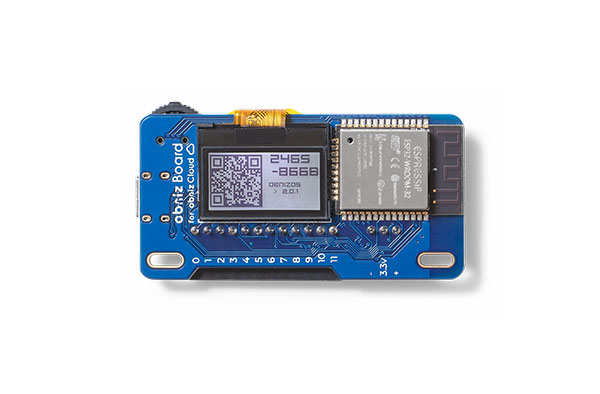
- obniz Board x2
- obnizの電源 x2
組み立て方
以下の完成したプログラムを実行すると、obniz2台でテニスゲームができます。部品は何も繋ぐ必要はありません。 obnizの左上についているスイッチを左右に動かすことによって、自分のテニスラケット(に見立てたブロック)を移動させて操作します。
プログラム
ボールやテニスラケット(に見立てたブロックは)、例えば以下のdrawToContext関数内のように、HTMLのcanvasに描いてobniz Boardのディスプレイに表示しています。canvasへの図形描画について、詳しくは canvasに図形を描く – 開発者ガイド | MDN をご覧ください。
drawToContext: async function() {
    ctx1.beginPath();
    ctx1.arc(
      this.ball.x,
      this.ball.y,
      this.ball.radius,
      (0 * Math.PI) / 180,
      (360 * Math.PI) / 180,
      true
    );
    ctx1.fill();

    ctx1.fillRect(
      this.myBar.x,
      this.myBar.y,
      this.myBar.width,
      this.myBar.height
    );
    ctx1.fillRect(
      this.yourBar.x,
      this.yourBar.y,
      this.yourBar.width,
      this.yourBar.height
    );

    ctx2.fillRect(
      width - this.myBar.x - this.myBar.width,
      this.myBar.y,
      this.myBar.width,
      this.myBar.height
    );
    ctx2.fillRect(
      width - this.yourBar.x - this.yourBar.width,
      this.yourBar.y,
      this.yourBar.width,
      this.yourBar.height
    );

    ctx2.beginPath();
    ctx2.arc(
      width - this.ball.x,
      this.ball.y,
      this.ball.radius,
      (0 * Math.PI) / 180,
      (360 * Math.PI) / 180,
      true
    );
    ctx2.fill();
  }
完成したプログラム